
Bollard lights are outdoor lighting fixtures that are typically installed along pathways, driveways, or garden areas to provide illumination and enhance the aesthetics of the surroundings. Here’s a general guide on how bollard lights are installed:
Planning: Determine the desired location for the bollard lights. Consider factors such as the purpose of the lighting, pathway layout, and the availability of electrical connections or the need for solar-powered options.
Gather materials: Acquire the necessary materials, including bollard light fixtures, cables (if applicable), electrical connectors, conduit (if required), a power source (if using electric lights), and any other tools mentioned in the manufacturer’s instructions.
Prepare the site: Clear the area where the bollard lights will be installed. Remove any obstacles, vegetation, or debris that may hinder the installation process.
Dig the holes: Use a shovel or a post hole digger to create holes for the bollard lights. The depth and diameter of the holes will depend on the specific instructions provided by the manufacturer and the desired height of the bollards. Typically, the holes should be deep enough to accommodate the base of the bollard and provide stability.
Run electrical cables (if applicable): If you’re installing electric bollard lights that require a power source, you’ll need to lay electrical cables. Dig a trench from the power source to each bollard location. Place the cables in the trench and cover them with conduit or bury them according to local electrical codes.
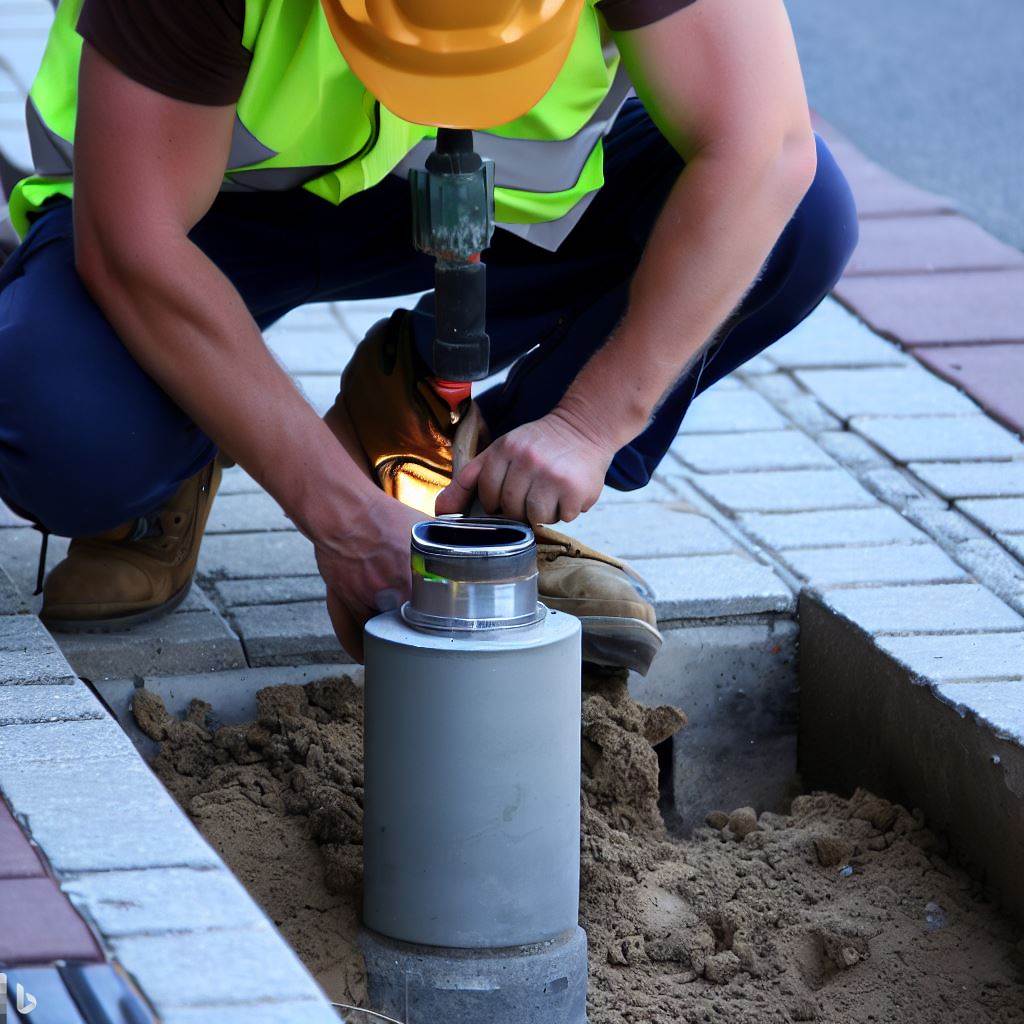
Install the bollard lights: Place the bollard lights into the prepared holes. Ensure that they are level and stable. Follow the manufacturer’s instructions to secure the lights in place, which may involve using concrete or anchor bolts.
Connect the wiring (if applicable): If you’re using electric bollard lights, connect the electrical cables from the lights to the power source. Follow proper electrical safety procedures and consult a qualified electrician if you’re unsure about the process.
Test the lights: Once the installation is complete and the electrical connections (if any) are secure, test the bollard lights to ensure they are functioning correctly. Switch them on and verify that they provide the desired illumination.
Backfill the holes: If you dug holes for the bollard lights, carefully backfill them with soil, ensuring the lights remain stable and upright.
Final adjustments: Make any necessary adjustments to the bollard lights, such as aiming the light beam or adjusting the height, according to your preferences and the specific features of the fixtures.
Remember to always consult the manufacturer’s instructions for the specific bollard lights you’re installing, as the installation process may vary depending on the brand and model. Additionally, adhere to any applicable local regulations or building codes regarding electrical installations and outdoor lighting.


